Minimum Viable Reason
3 minute read
()
This post is also available in different formats so you can read on the go or share it around!
If you're a JS developer using TypeScript or Flow, you might be interested in Reason. Haven't heard about Reason before, read What is Reason.
Reason is still in its infancy, although the documentation is good, it's still not very easy to figure out where to start and how to go about getting your feet wet with Reason on the web. To help other JavaScript developers get started, I'm going to guide you through adding Reason to a project to get a minimum viable setup working so you can begin hacking away.
Getting Started
We're making a basic project, the source files will consist of a single HTML file and a corresponding script file.
Basic Project Setup
Every JS project begins with some common steps. Create a project with NPM like you normally would.
    mkdir my-reason-project
    cd my-reason-project
    npm init
Adding Reason
Let's setup our build system so we can start using Reason, add bs-platform to the project.
npm install --save-dev bs-platform
Now we've added our build system, we need to configure it.
Configuration
We need to configure BSB with a bsconfig.json configuration file. Create one at the same level as the package.json. This is the resulting config we will create.
{
  "name": "my-reason-project",
  "sources": ["src"],
  "subdirs": true,
  "refmt": 3,
  "suffix": ".bs.js",
  "package-specs": {
    "module": "es6-global",
    "in-source": true
  }
}
- name: The name of the project, this will usually be the same as what's defined in the
package.json. - sources: Where the build system should look to build the files, we will create a separate directory to store all our script files. subdirs is used to specify what folders should be built within sources or whether all sub directories should be recursively built.
- refmt: The version of our code formatter, equivalent to something like Prettier for JavaScript
- suffix: When we build our project, the Reason source files (.re) will be compiled to JavaScript (.js). To better identify that these files are generated and shouldn't be edited by hand, I'm going to use the (.bs.js) file extension.
- package-specs: We need to control our target JS output. In this case we will output an ES6 module by specifying the module property as es6-global. We also want the generated files to be created next to the source files with in-source, (without this, the files would end up in a
/libdirectory).
Now that we have a valid configuration, we need to create out HTML entrypoint/webpage.
The Entrypoint
We want to do some basic DOM manipulation using Reason. Let's create a simple HTML file we can manipulate easily and add a reference our yet-to-be-created script.
The minimum we need is an index.html containing the following:
<!DOCTYPE html>
<html>
  <body>
    <h1>Welcome to <span id="output"></span></h1>

    <script type="module" src="src/App.bs.js"></script>
  </body>
</html>
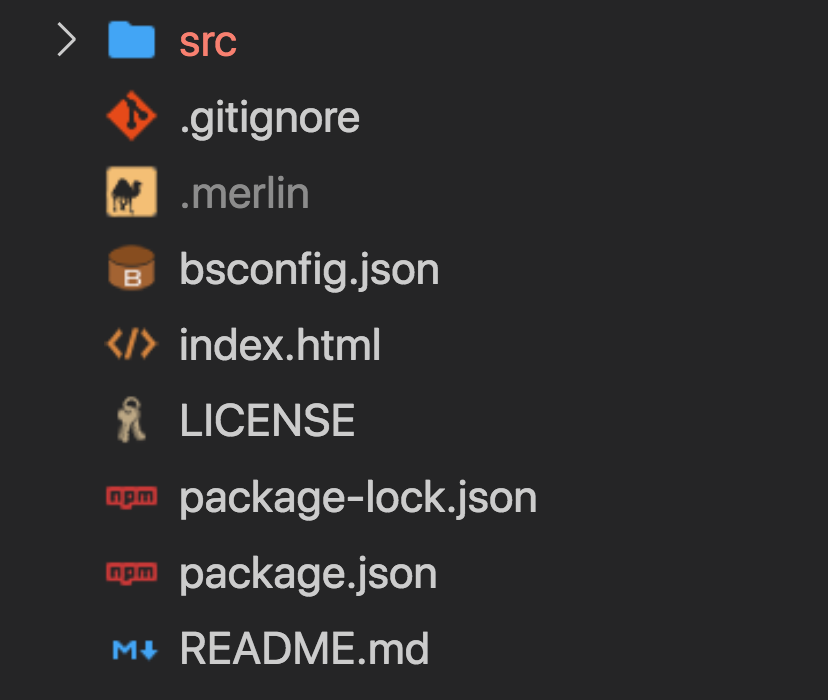
Your project directory should look something like:
Your first .re file
Let's create the source file for the file we referenced in our HTML, we need to create our first Reason source file at src/App.re.
To test it works as expected, let's log to the console.
let message = "Log like this!";
Js.log(message);
Building
To create the artefact we specified in our HTML, we need to build the project to turn our App.re into a App.bs.js.
Run the following command to build the project:
bsb -make-world
Add the -w argument to rebuild the project whenever our source code changes like so, bsb -make-world -w. Feel free to add these commands to your package.json to make them easier to run on a regular basis.
You can now open the index.html in your browser of choice and see if the app logged to the console correctly. In modern browsers, you might see the following error.

This is because we aren't serving our file from a server. I like to use http-server on npm, it doesn't need any configuration and is easy to use. Just run http-server and it will serve the current directory.
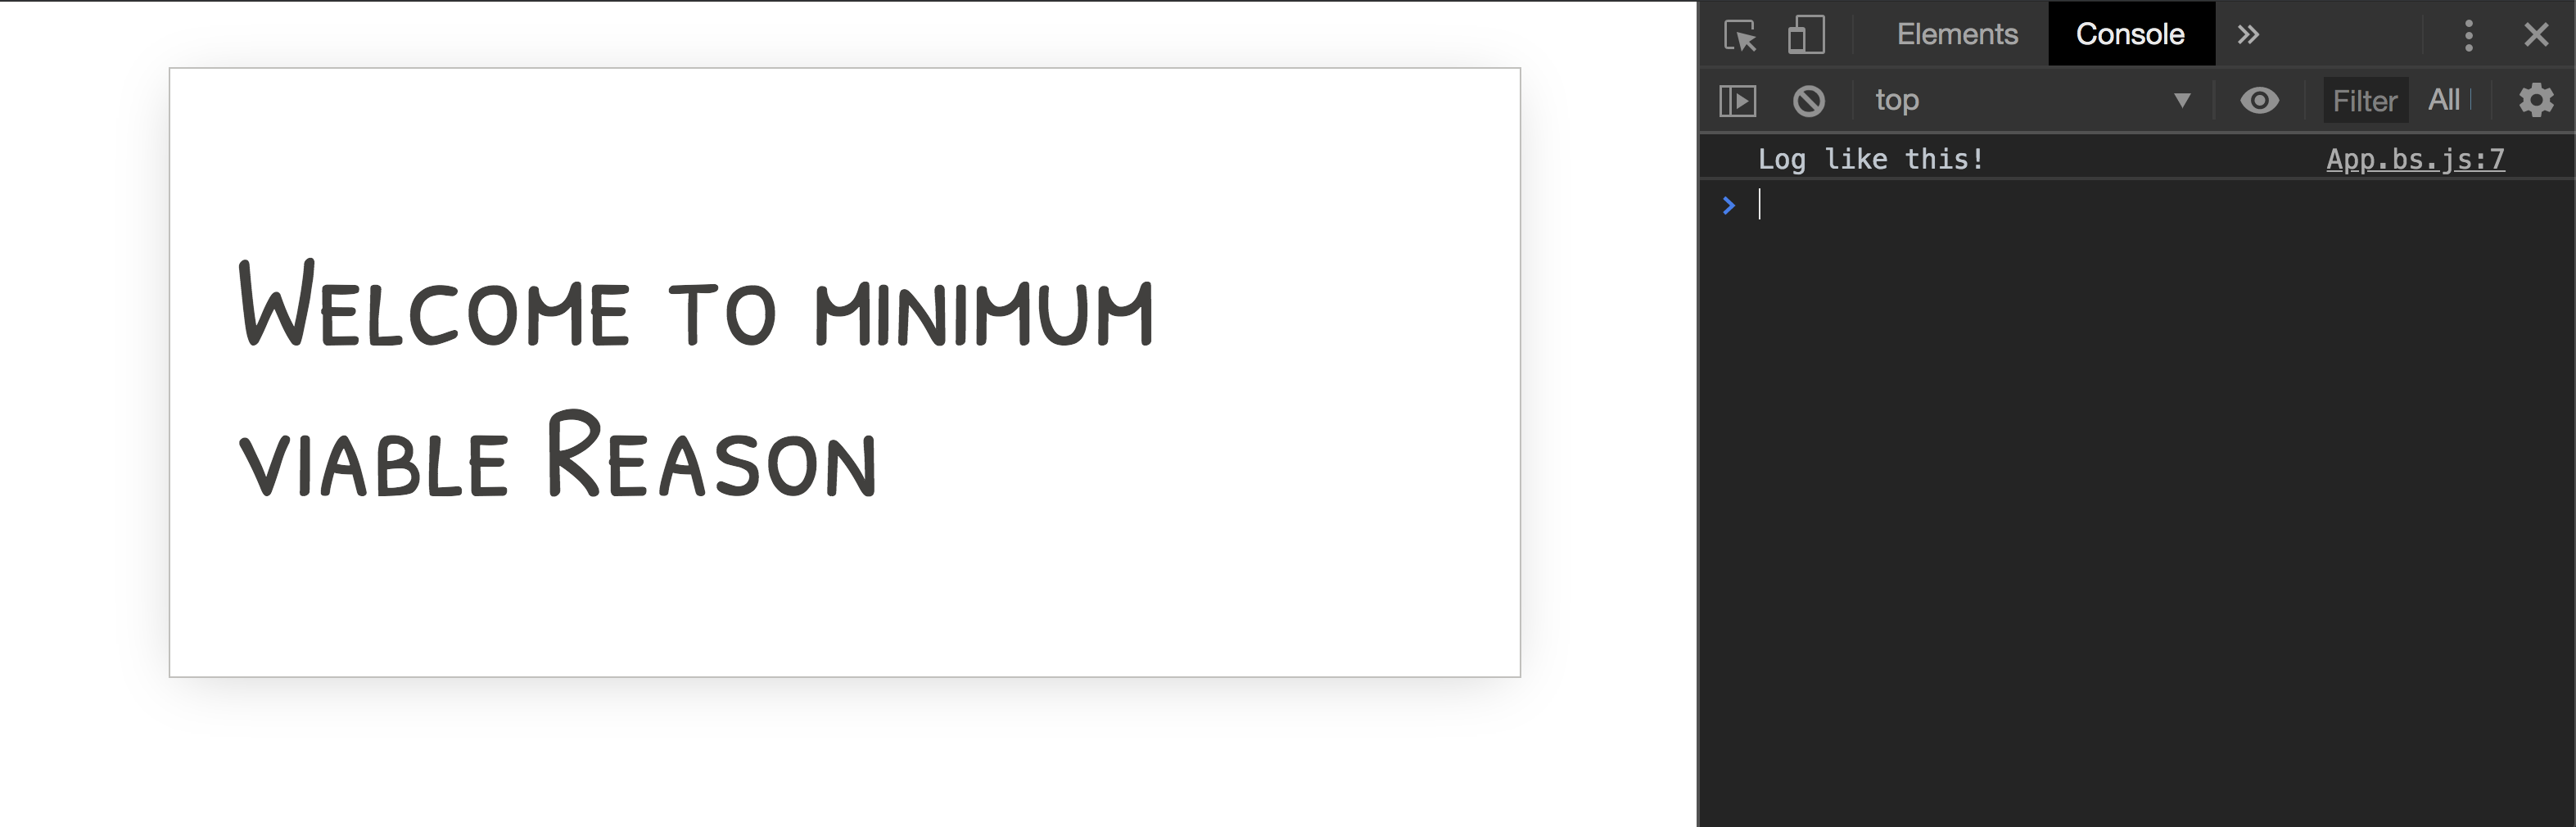
With some luck, you should see:

Manipulating the DOM with Reason
Logging to the console isn't very useful so let's do something with the DOM too.
Working with the DOM directly in Reason isn't very straightforward without libraries but doing it manually gives you an opportunity to see how we can interact with the JS APIs we know. We're going to make use of JS directly within Reason to get our #output element.
/* Get out element, we use Js.Nullable.t in case it doesn't exist */
let outputEl: Js.Nullable.t(Dom.node) = [%bs.raw
  {| document.getElementById("output") |}
];

/* Convert to an option type to make it easier to work with */
let maybeEl = outputEl |> Js.Nullable.toOption;

switch (maybeEl) {
| Some(_) =>
  %bs.raw
  {| outputEl.innerText = "minimum viable Reason" |}

| None => Js.log("Couldn't find the output element")
};
We can write JS directly in Reason by wrapping the JS we want like so: [%bs.raw {| ... |}];
You might think this defeats the purpose of using Reason for type safety but we can strengthen the safety guarantees by assigning the value with the type Js.Nullable.t(Dom.node). Reason can then determine that the result could be null or a valid DOM node.
We then convert this type into an optional and switch on the result to handle both outcomes. If the element isn't found then the type is None and an error message will be logged to the console. If the node exists then we set the innerText property.
There you have it, a minimal viable Reason project!
The source is available on GitHub, if you want to see how it works or if you had a problem along the way.
What we've achieved and where to go from here
We've setup a very basic project which uses Reason. It's not fit for production but it it's good to get an understanding of how to add Reason to an new or existing project and manually configure it.
The next step for getting this project production ready is to use a bundler, not all projects support modules or the syntax used here.
If you'd like to learn more about Reason, check out the official Reason docs.

Currently a Senior Product Engineer at zeroheight. Actively designing and building the agentic systems that respond to tools like Figma to update your design system documentation automatically as well as a flexible platform to manage agents.