Move from Blogger to Gatsby
4 minute read
( )
This post is also available in different formats so you can read on the go or share it around!
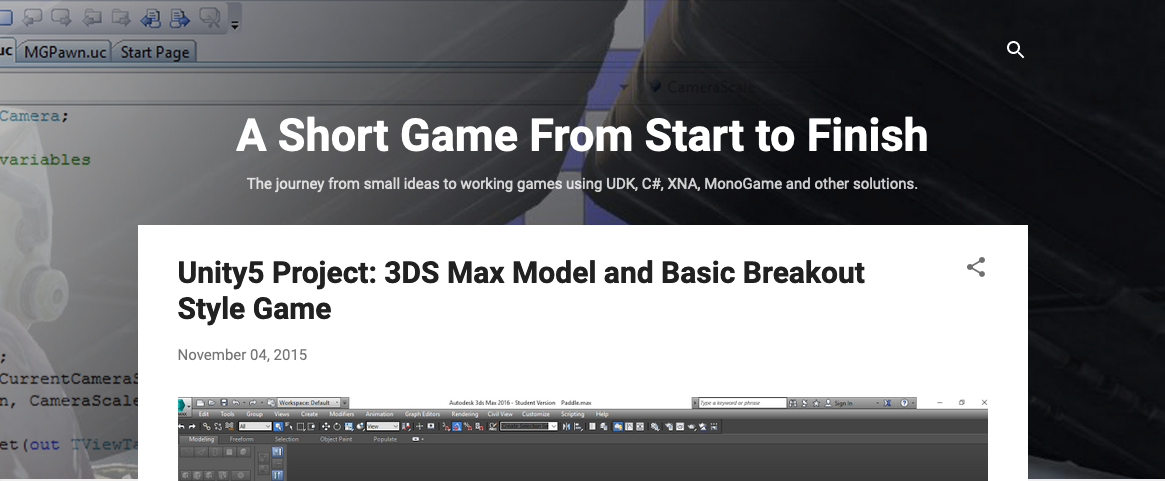
In 2012 I started a blog detailing my journey of game development. I used it up until 2015 when I shifted focus to web development instead. I've left it as is for all these years until recently, I've decided I want to keep it going and continue that journey as a hobby.
The biggest problem is *A Short Game From Start to Finish *is hosted on Blogger. Yes, it still exists but it hasn't seen too much love from Google. I decided it was the perfect time to bring my old game development blog kicking and screaming into the modern era.
Why move?
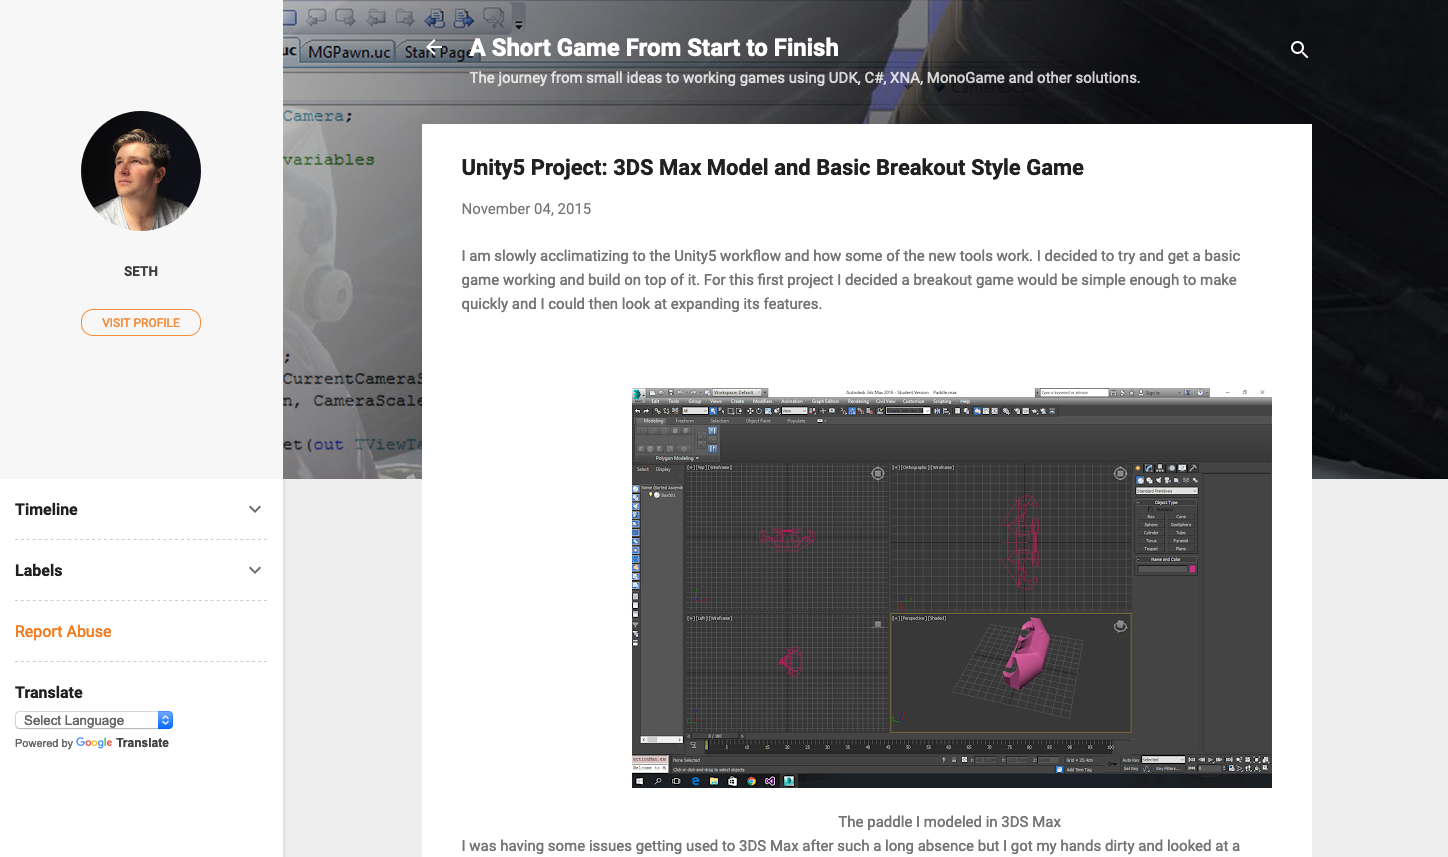
Blogger was great when I started, I could code my own website but hosting wasn't like it is today. It was an extra hurdle that may have prevented me from blogging at all. An easy to use hosted platform made blogging easy, everything just worked which is exactly what I needed to make it a habit. Looking at it now (in 2020 as of the time of writing), the editing experience is not as polished as I would like and there are changes I'd like to make that Blogger just can't facilitate. I'm also wary about keeping my stuff on a platform I have no control over.
Blogger may not be going anywhere but I don't want to take that chance. Platforms change over time and it's a similar reason to why I moved this blog from Medium to Ghost. I want to own my blog. I want to have the freedom to add features, to shape it how I choose and to ensure it survives regardless of how platforms change. If you'd like to move your own blog from Blogger, here's how I did it and you can too.
How to move your blog to your own platform
Backing up your data
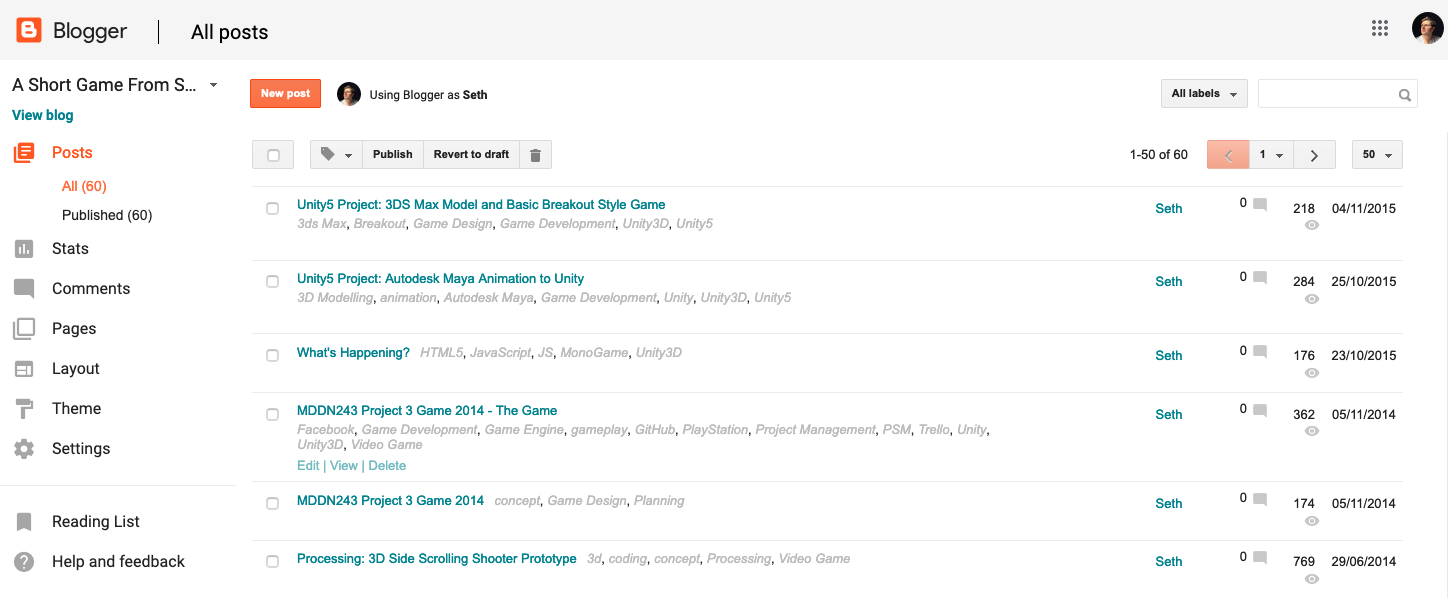
The first step is to get your content. Go to Settings > Other and then under Import & back up, choose Back up content. You'll download an XML file containing the pages, posts and comments of your blog.
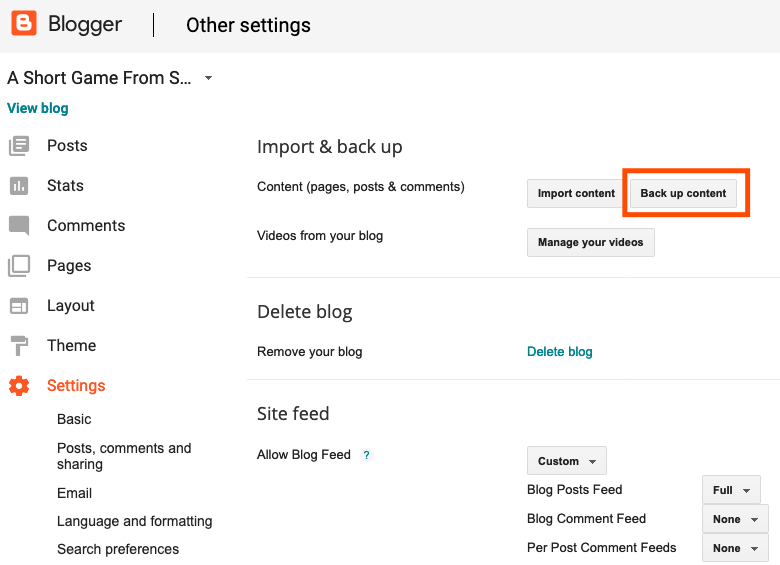
With this XML file, you've got everything you need to start moving elsewhere. For this guide, we'll be converting it to markdown because it's a nice portable format that's easy to read, write and move. It's also supported by other platforms so if you want to ditch Blogger but still have a hosted service, you can do that too.
Getting started with Gatsby
Another key task we need to undertake is setting up a place to move your content to, in this guide we'll be moving our blog to GatsbyJS. The easiest way to do this is to convert our XML into a series of markdown files.
Install the Gatsby CLI and make your new blog, I chose the gatsby-theme-blog starter. Running a command like gatsby new my-themed-blog https://github.com/gatsbyjs/gatsby-starter-blog-theme will create your new blog. You're now ready to convert that XML backup into something easily consumable by Gatsby.
If you've never used a static site generator before but you're familiar with React then Gatsby is a great choice. It has a lot of flexibility and many great plugins to do everything you might need in a blog. One of the reasons I choose to use Gatsby is because it gives me the power to add features quickly and build my own if the need arises.
Converting the data
I used the following library to convert the XML from our backup into markdown files. The script isn't maintained but it did the job (it did miss a single post for some reason so you should make sure all your posts are there on the other side). I also have a very simple blog which consists mainly of text, images and the occasional YouTube embed. The embeds didn't move over either so I did have to do some legwork to copy the five embeds into markdown afterwards. blog2md I used node index.js b your-blogger-backup-export.xml out to produce the markdown files. You should be able to move these into /content/blog/ (depending on your Gatsby setup) and start up your project. If everything looks fine, you can move on to the next step. You may notice a few issues but the only ones I ran into were related to a missing description in the frontmatter portion of some posts. This can be fixed by ignoring that field or updating your posts that don't have the field. There is one another step I want to do too, I want to remove my old Blogger blog so all the images which are uploaded there, need to be stored alongside the content. So let's turn these markdown files into individual folders containing each post.
Rearranging the files
The next step was to move each file into a folder with the same name and then rename it to index.md. That way, images could be included alongside the blog post to make it portable and self-contained.
To achieve this, I wrote a simple Python script:
import os

current_dir = "<markdown location>"  # where your markdown files are located

os.chdir(current_dir)

for file in os.listdir():
    folder_name = file.split(".")[0]
    os.mkdir(folder_name)
    os.rename(current_dir + file, current_dir + folder_name + "/index.md")
This moves our markdown files into their own folders like so:
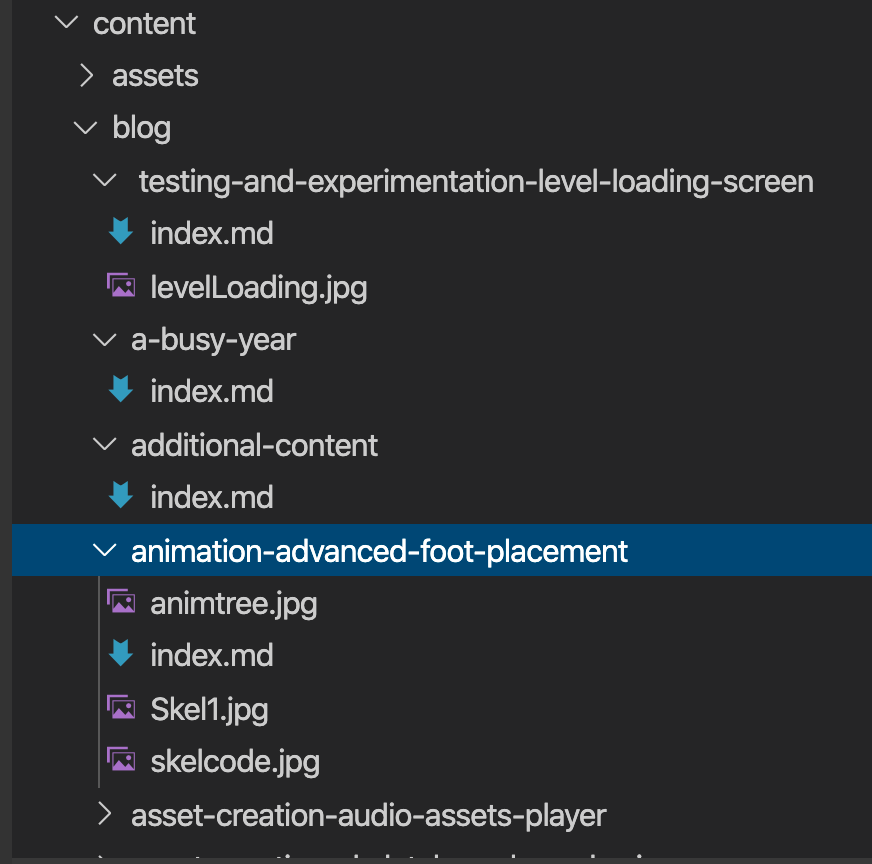
Now we have our structure in place, how do we actually go about getting the images from blogger?
Owning your images
I automated the process of downloading all of my images with another Python script.
import os
import wget
current_dir = "<markdown location>" # where your markdown files are
os.chdir(current_dir)
image_start = "[:
os.chdir(current_dir + "/" + folder)
file = open("index.md", "r")
content = file.readlines()
new_file_content = ""
# download images
for line in content:
if line.startswith(image_start):
hyperlink = line.replace(image_start, "")
hyperlink = hyperlink.rsplit(")]")[0]
wget.download(hyperlink)
file.close()
This goes through each directory and reads the index.md inside it. Then it looks for any markdown links that are images and downloads the image into the same directory.
Now the images are in the correct directory, we need to update the URLs. I could have written another python script to do this but I got by with a find and replace, simply searching for the beginning of the tag and the end of the tag and removing them.
There you have it. Your blog is now free from Blogger and you start tinkering with it until your heart's content. The resulting blog is https://game-blog.sethcorker.com/, there is still a lot of work but it's not bad for an hour of work. Now I can start refining it, choosing a theme and contributing to it more easily than ever before. If you want an easy workflow to deploy your new Gatsby blog, I recommend giving https://www.netlify.com/ a go. Push your site to GitHub and connect it to Netlify so your blog is updated with every commit.
I hope you've found this guide useful. If there's any part you need more detail, please let me know and I'll expand upon it. You can leave a comment below or ask me on Twitter.

A Fullstack Software Engineer working with React and Django. My main focus is JavaScript specialising in frontend UI with React. I like to explore different frameworks and technologies in my spare time. Learning languages (programming and real life) is a blast.