
This post is also available in different formats so you can read on the go or share it around!
I’m a software engineer and don’t often need to think about hardware but, I’ve always been interested in experimenting more. The old Raspberry Pi 2 that’s been sitting in my desk draw gathering dust is testament to that. I’ve finally decided to dust it off and tinker.
Why Nerves?
I’ve been stalking the Elixir for a few years, trying it out, watching videos and reading articles but I’ve never had the opportunity to use it for anything more than simple throwaway projects. Seeing Nerves and the getting to grips with the language more sparked an interest in trying it out. What attracted me to Nerves is the ability to use an interesting and powerful language while using intuitive tools. Having the ability to interface with low-level GPIO and high-level APIs like JSON parsers and UI frameworks makes for a flexible toolkit that fits perfectly with tinkering on IoT projects.
How to get started?
Installing Nerves
The installation guide for Nerves walks you through it and is pretty straightforward. It essentially boils down to the following:
Install dependencies
I’m using a Mac so that looks like this:
brew update
brew install fwup squashfs coreutils xz pkg-config
The guide also suggests using ASDF for managing the versions of Elixir and Erlang.
Update hex, rebar and install nerves_bootstrap
These tools can be installed using mix:
mix local.hex
mix local.rebar
Then let’s install nerves_bootstrap which will allow us to create projects easily.
mix archive.install hex nerves_bootstrap
Running Nerves on a Raspberry Pi as quickly as possible
Let’s try and get nerves running as quickly as possible on actual hardware. I’ll be using a Raspberry Pi 2 but most Raspberry Pi devices are supported along with beagle board and x86 devices.
The hardware
I’ve had a Pi2 lying in a desk draw for years that I’d fish out and dream of doing something with. The last project I made was a Hacker News ticker in Svelte that was a pain to update. The Svelte side was easy but getting on to the device was a very manual process. If you have an old Pi like this then one thing you’ll want to do is connect it to your local network with an ethernet cable. One of the benefits of Nerves is the ease of redeploying the firmware over the network or even over the internet with Nerves Hub. Newer Raspberry Pis with wireless and/or Link USB gadget mode have more options and are a bit easier to get started by plugging in directly for debugging.
Create a new project
Let’s create a basic project and install the dependencies.
mix nerves.new hello_nerves
cd hello_nerves
export MIX_TARGET=rpi2
mix deps.get
Notice the export - this environment variable is used to change the target we’re building for so if you’re using a Pi Zero you can change this to rpi0. The full list of officially supported targets are in the Nerves docs.
Flashing the SD card
Take the Micro SD card for your Pi and plug it in. Then run the following command:
mix firmware.burn
This will build the firmware and attempt to write it to the SD card you just put in. Once that’s done, take it out, put it in the Pi and start it up. You should see the PI booting then the Nerves logo pop up along with an IEX prompt. So now what? Let’s use my favourite feature, flashing the firmware over the network.
Flashing over the network
By default the newly flashed Pi will have the following address and thus you can test the connection from your hot machine:
ping nerves.local
If all went well, you’ll see a response from the device - now let’s generate the script we’ll use to flash the firmware remotely. Run the following mix task to generate a bash script:
mix firmware.gen.script
Now you’ll find an upload.sh script in the root of the project. Instead of having to unplug the SD card each time you want to update your app, you can do the following:
mix firmware
./upload.sh
This will rebuild the firmware and then send it to the device. The Raspberry Pi will restart and apply the new firmware automatically. You’re all set to start hacking and making something!
Showing a user interface
A part of the puzzle for my use case was doing something with a small display I got which attaches directly to the Pi and connects via HDMI. Up until now, the screen has been showing IEx. To get something a bit more interesting, I decided to give Scenic a try. It’s a framework for building user interfaces with fixed displays in mind and it works on Nerves as well as full desktop applications.
Adding Scenic to our existing project
If you’re happy to start from scratch then take a look at the getting started guide for Scenic. At the time of writing, I noticed the versions of dependencies used by the default project that’s scaffolded are a bit out of date and I was seeing issues building on my M1 Mac so I decided to take a slightly more manual approach and add Scenic to my existing project.
Installing the OS dependencies
There are a few dependencies we need to render the user interface on the host and help with compilation.
brew update
brew install glfw3 glew pkg-config
Adding project dependencies
First, we need to update the deps block in /mix.exs so that there’s these additional dependencies along with the Nerves dependencies you already have.
defp deps do
	[
	{:scenic, "~> 0.10"},
    {:scenic_sensor, "~> 0.7"},
    {:scenic_driver_glfw, "~> 0.10", targets: :host},
    {:scenic_driver_nerves_rpi, "~> 0.10", targets: @all_targets},
    {:scenic_driver_nerves_touch, "~> 0.10", targets: @all_targets}
	]
end
Creating new configurations
There are two new config files we need in ./config/ alongside ./config/config.exs and ./config/target.exs. One for the host so that we can test out our UI on our machine. Another for our target device. These are the following two new files:
The host config - ./config/host.exs
I’ve set the default scene here to HelloNerves.Scene.Calendar which we’ll create soon. This can be whatever you like, I’m building an app to show my daily calendar hence the name.
import Config

config :hello_nerves, :viewport, %{
  name: :main_viewport,
  default_scene: {HelloNerves.Scene.Calendar, nil},
  size: {800, 480},
  opts: [scale: 1.0],
  drivers: [
    %{
      module: Scenic.Driver.Glfw,
      opts: [title: "MIX_TARGET=host, app = :hello_nerves"]
    }
  ]
}
The Raspberry Pi 2 config - ./config/rpi2.exs
Notice the name corresponds with the target you set with export MIX_TARGET=rpi2 so it should be named the same as the device this config is specific to.
import Config

config :hello_nerves, :viewport, %{
  name: :main_viewport,
  default_scene: {HelloNerves.Scene.Calendar, nil},
  size: {800, 480},
  opts: [scale: 1.0],
  drivers: [
    %{
      module: Scenic.Driver.Nerves.Rpi
    },
    %{
      module: Scenic.Driver.Nerves.Touch,
      opts: [
        device: "FT5406 memory based driver",
        calibration: {{1, 0, 0}, {1, 0, 0}}
      ]
    }
  ]
}
Using the new configs
One important thing we need to do to actually use the two configs we just created, is to import them as needed. To do this, uncomment import_config "#{Mix.target()}.exs" in ./config/target.exs. I missed this line the first time around and ended up racking my brain for an hour wondering why the UI wasn’t showing up at all.
Our first Scene
Let’s create a simple scene which will display as soon as the app starts.
I created ./lib/scenes/calendar.ex which won’t look like much, let alone a calendar but, it will server the purpose of showing something on the screen.
defmodule HelloNerves.Scene.Calendar do
  use Scenic.Scene
  alias Scenic.Graph
  import Scenic.Primitives

  @graph Graph.build()
         |> group(
           fn g ->
             g
             |> rounded_rectangle({400, 200, 8},
               stroke: {2, {:color, :orange}},
               fill: :white
             )
             |> text("Hello World", font_size: 22, translate: {10, 28}, fill: :black)
           end,
           translate: {40, 40}
         )

  def init(_scene_args, _options) do
    {:ok, @graph, push: @graph}
  end
end
I won’t explain the Scenic code in detail, the two primaries we’re drawing is a rounded rectangle then some “Hello world” text over the rectangle. These have been grouped together and inset from the top left by 40px. The framework is quite flexible, as it’s designed for fixed display sizes you won’t find features like auto layout or flex box but the system of scaling and translation should allow for supporting different screen sizes later on.
Setup the application
Now we have the configs setup and our first scene, we need to actually run our application. Let’s update ./lib/hello_nerves/application.ex to use the config we made and setup Scenic to load our scene/view when the app starts.
defmodule HelloNerves.Application do
  # See https://hexdocs.pm/elixir/Application.html
  # for more information on OTP Applications
  @moduledoc false

  use Application

  @impl true
  def start(_type, _args) do
    # See https://hexdocs.pm/elixir/Supervisor.html
    # for other strategies and supported options
    opts = [strategy: :one_for_one, name: HelloNerves.Supervisor]

    children = children(target())

    Supervisor.start_link(children, opts)
  end

  def children(_target) do
    main_viewport_config = Application.get_env(:hello_nerves, :viewport)

    [{Scenic, viewports: [main_viewport_config]}]
  end

  def target() do
    Application.get_env(:hello_nerves, :target)
  end
end
We’re setting up Scenic as a process to be supervised by our app and using the config which specifies our Scene.
Testing the app on the host
Before we actually run on the device, for development it’s a good idea to run locally for quicker iteration. We can change the target to host and run our app with the following:
export MIX_TARGET=host
mix scenic.run
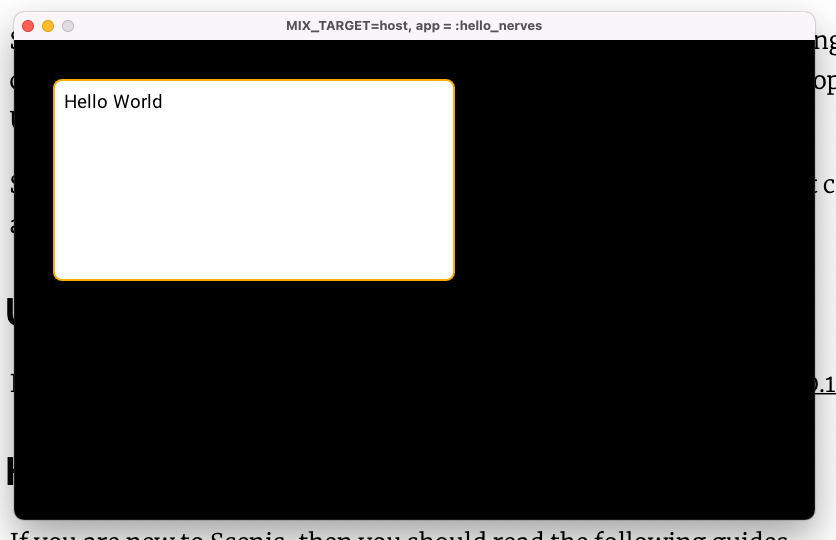
Here’s our app running on MacOS 12.0 in an 800x480 window - just as we specified in ./config/host/exs.
Running on device
Getting your code running on the real is as easy as pi.
export MIX_TARGET=rpi2
mix firmware
./upload.sh
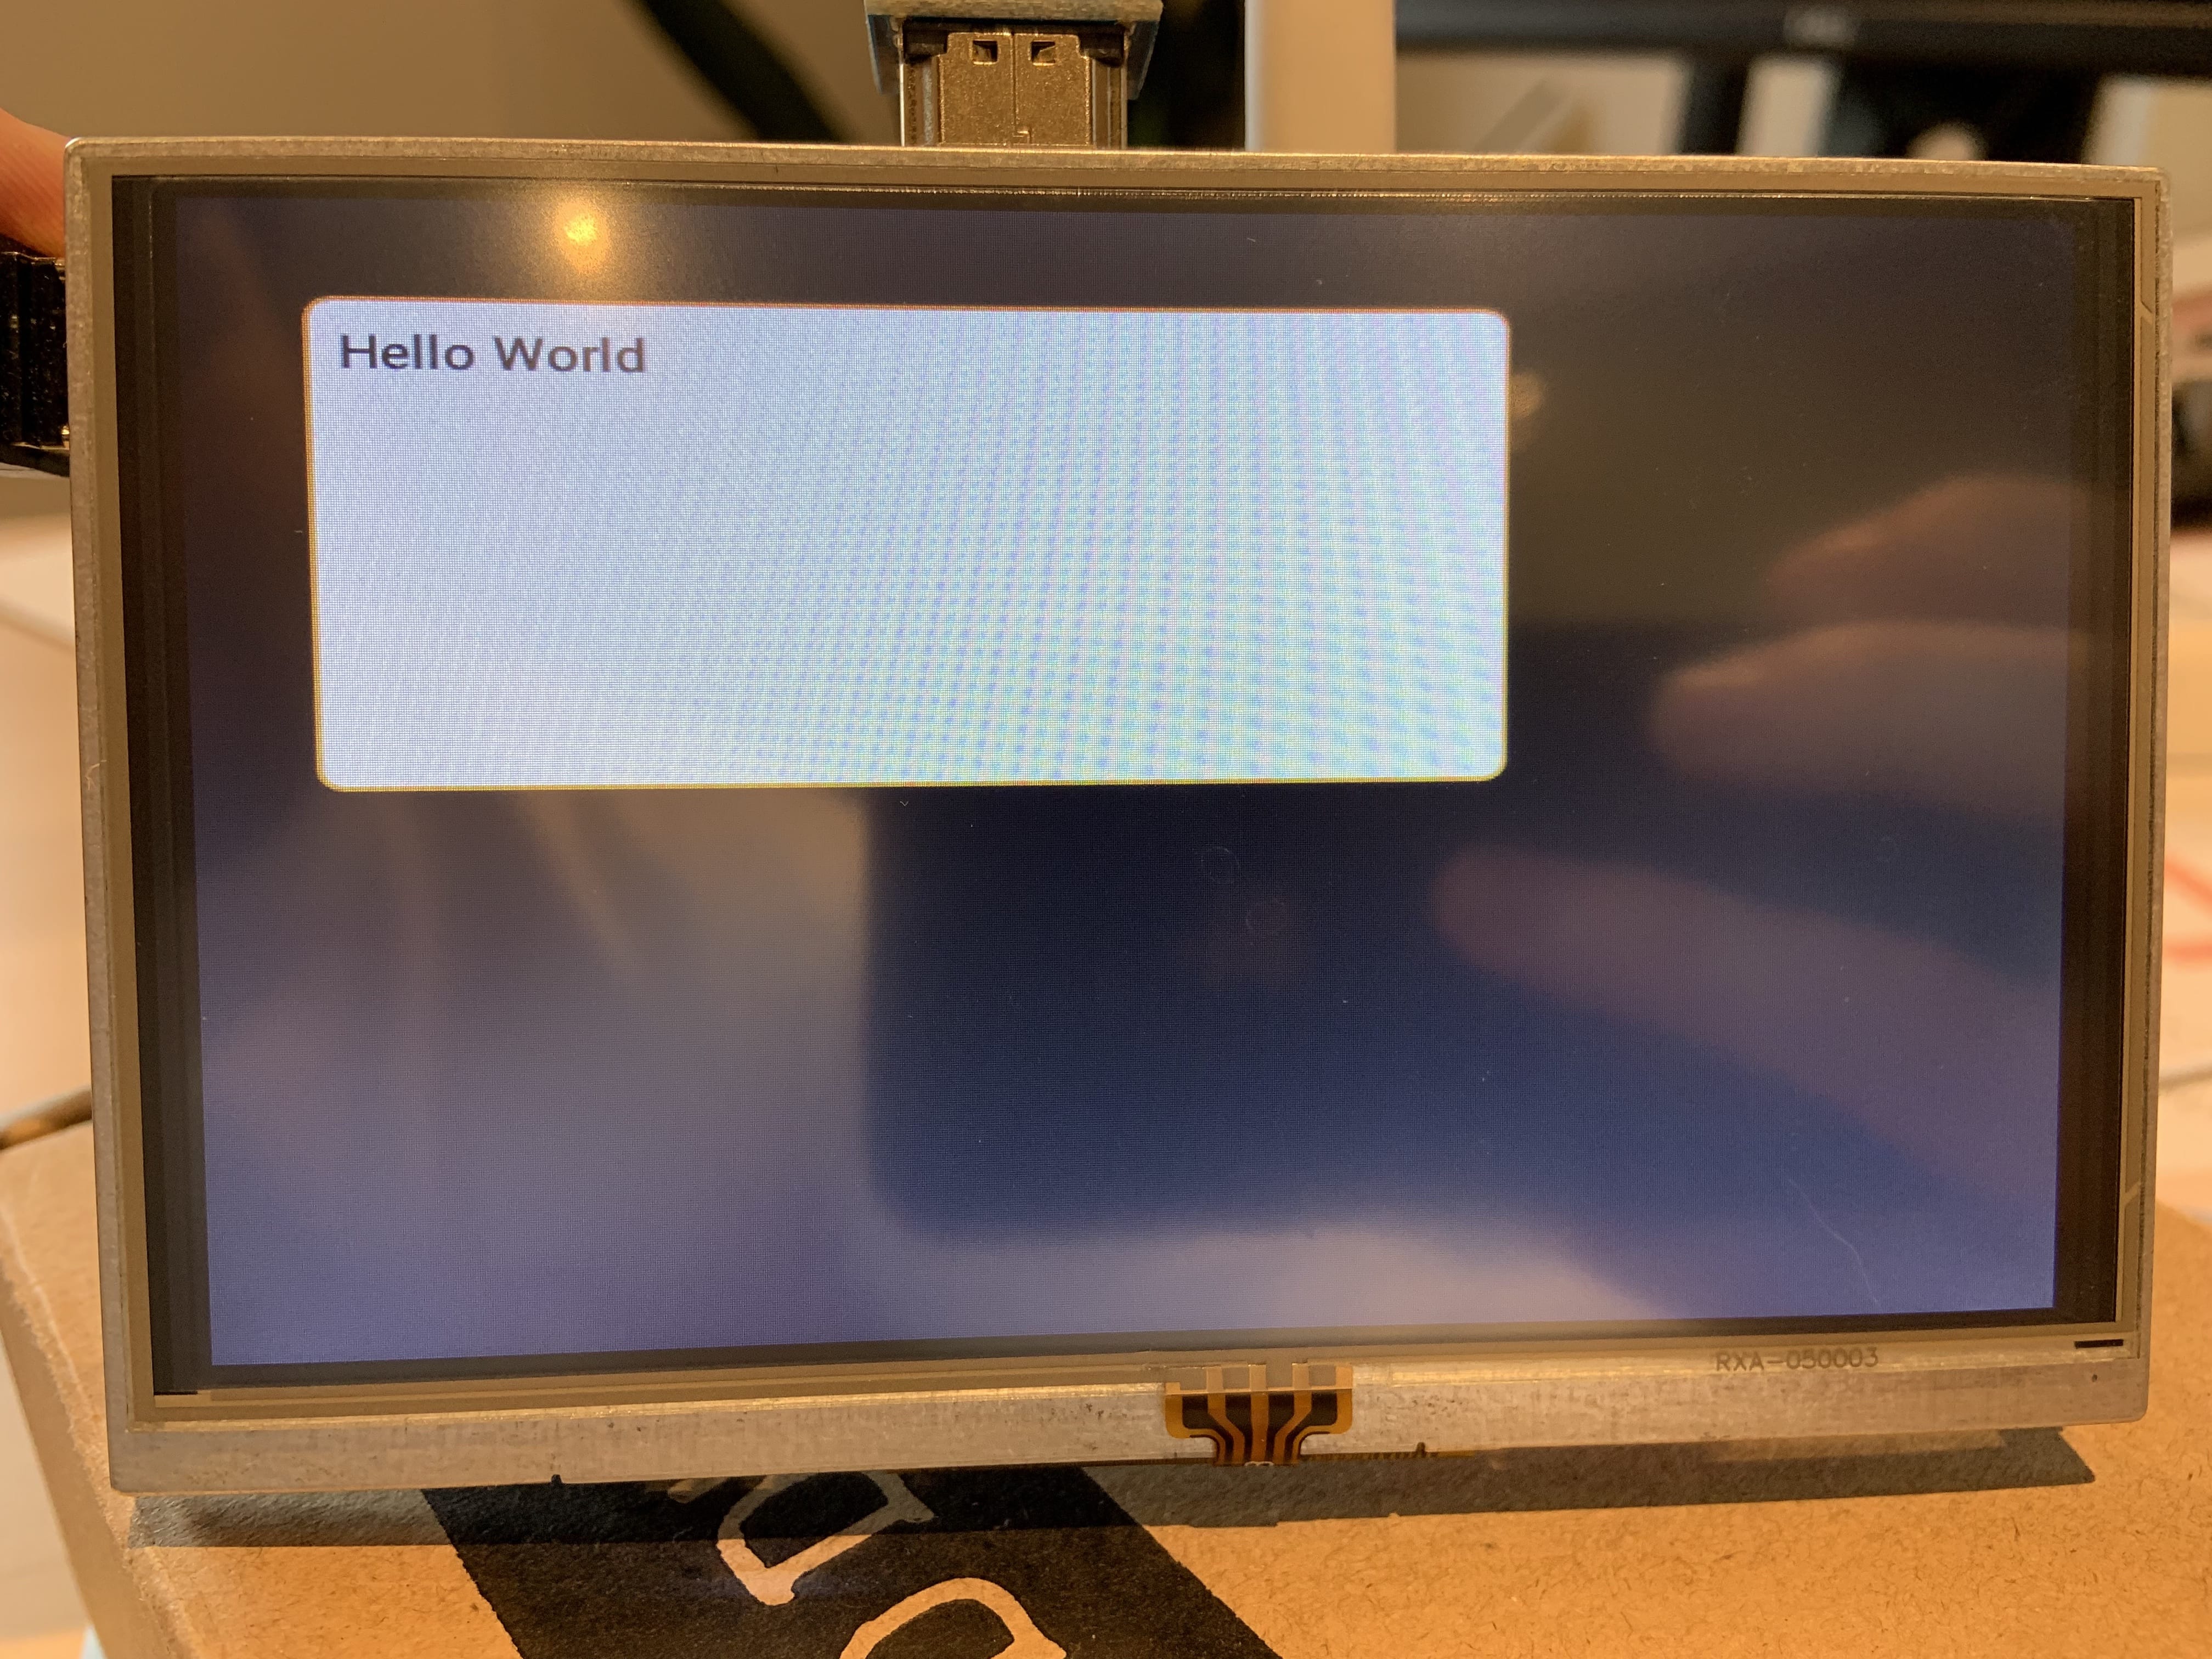
To prove it, here’s the GUI running on the Raspberry Pi 2 on a small display.
What’s next?
Overall I think Nerves is a really cool project and I’m going to use it when doing more interesting things with the powerful little devices we take for granted. Scenic is a good complement to the experience and is ideal for resource constrained devices - it’s a performant GUI library that is easy to learn. I’d love to see Elixir and the BEAM running on other embedded devices in future. The process of changing the firmware is excellent and essentially allows for continuous deployment to devices. It’s a smart and safe approach that would allow for over the air updates without the fear of bricking devices in the field.
I hope this sparked interest and gives you a reason to dust off that raspberry pi in a draw that’s just waiting for Nerves.
Resources
Banner uses photo by Harrison Broadbent on Unsplash

Currently a Senior Product Engineer at zeroheight. Actively designing and building the agentic systems that respond to tools like Figma to update your design system documentation automatically as well as a flexible platform to manage agents.